Friday, December 9, 2011

Poinsettia Yarn and Felt Wreath

I don't know about you, but I've been admiring all the pretty yarn wreaths on Etsy for a LONG time now. I've been wanting to make one and I finally did. It wasn't that hard either! Just time consuming. :0)


Poinsettia Felt and Yarn Wreath 


Poinsettia Felt and Yarn Wreath


My inspiration for this one came from an etsy seller named ItzFitz, who made a beautiful poinsettia wreath.   I followed the advice of another yarn wreath maker, who I think is an amazingly creative person, Agnes from  Knock Knocking. See the cute tag? That's a holiday freebie typographic gift tag template (try saying this really fast) from Eat.Drink.Chic.  I love it! I'm using them on presents too.

Suzy :0)

Monday, December 5, 2011

Holiday Decorating

I'm almost done decorating for the Holidays, one craft project at a time. I've been busy since the day after Thanksgiving. LOL Just as soon as I finish a crafty project, I quickly load up my plate with more. It never seems to be enough!
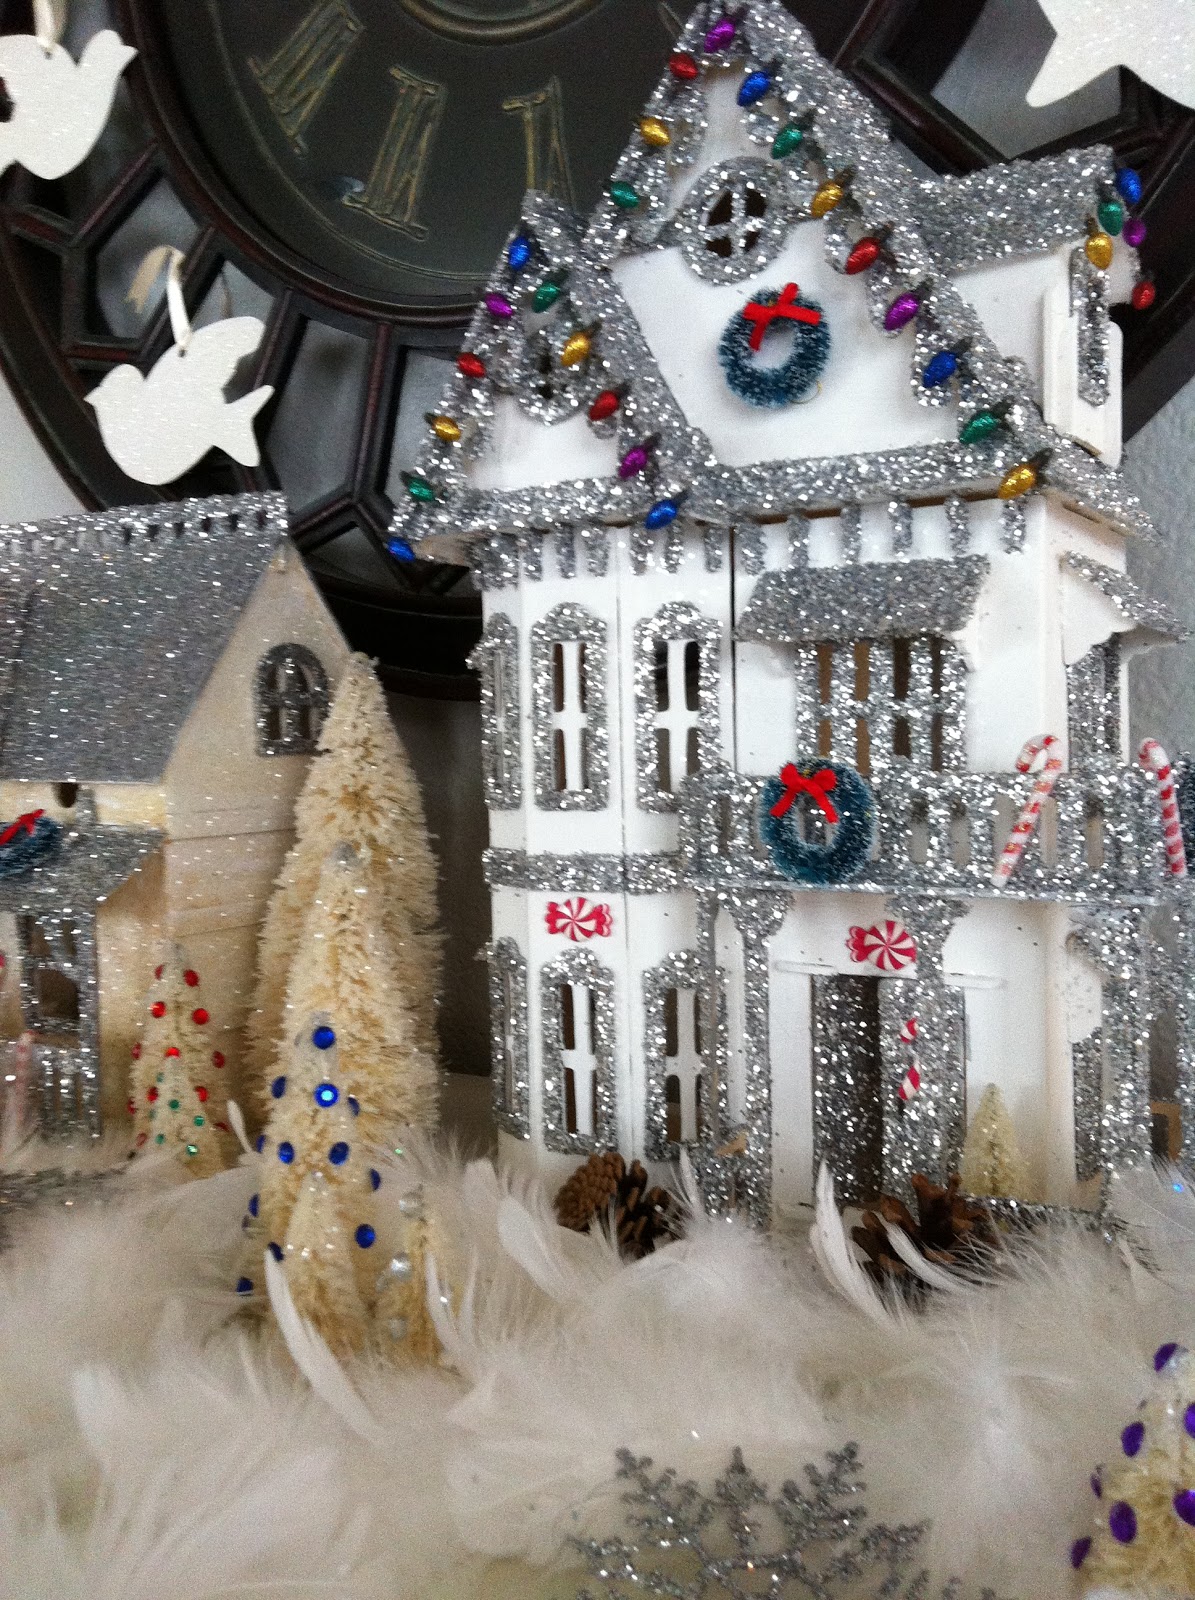
I found some great tutorials on how to make your own glitter houses and white bottle brush trees here and here. I love miniature things. I don't know why, but they are just so enchanting to me.


Everything in my little village was bought at Michael's Crafts. The dollhouses are kits you assemble. I painted  one of them 
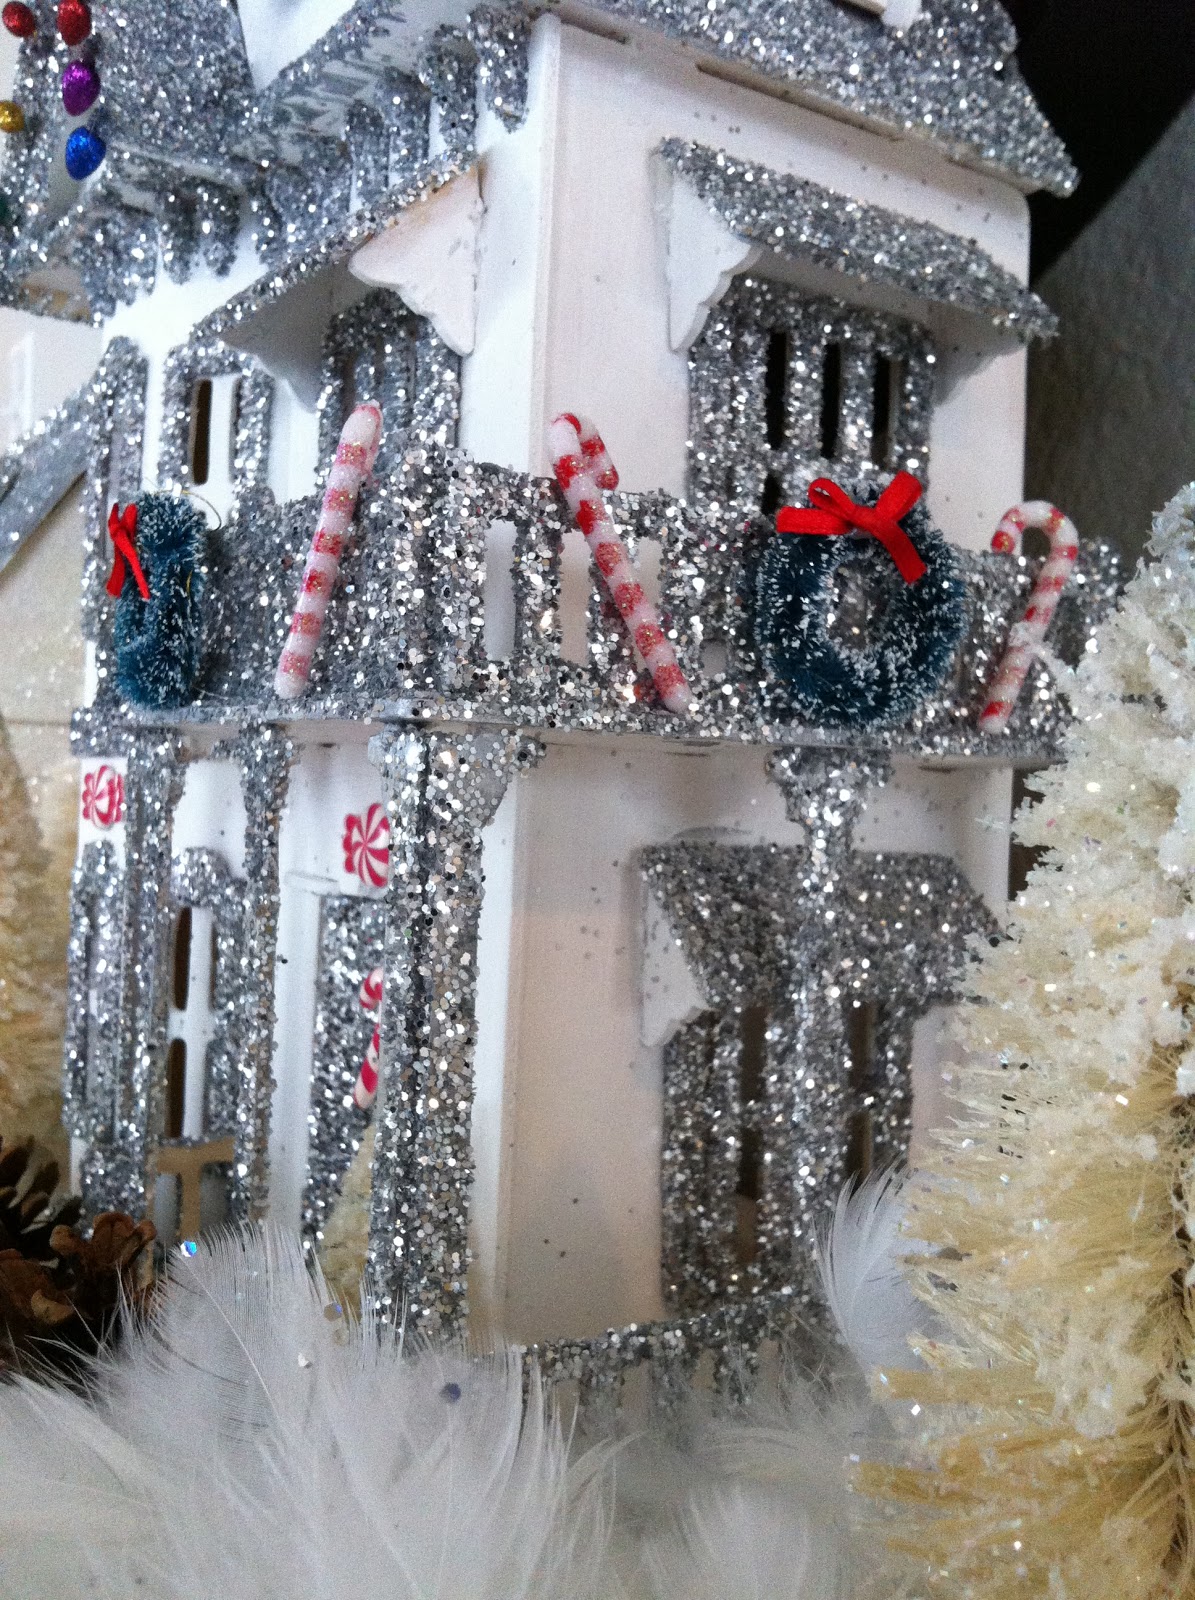
ivory white and  the other, soft white. Then, I brushed on Elmer's glue and sprinkled them with silver glitter. I couldn't resist adding little details, like the "lights", tiny wreaths, candy canes, and gems decorating the trees. I reused the peace sign and dove ornaments from last year. Which I blogged about how to make here.


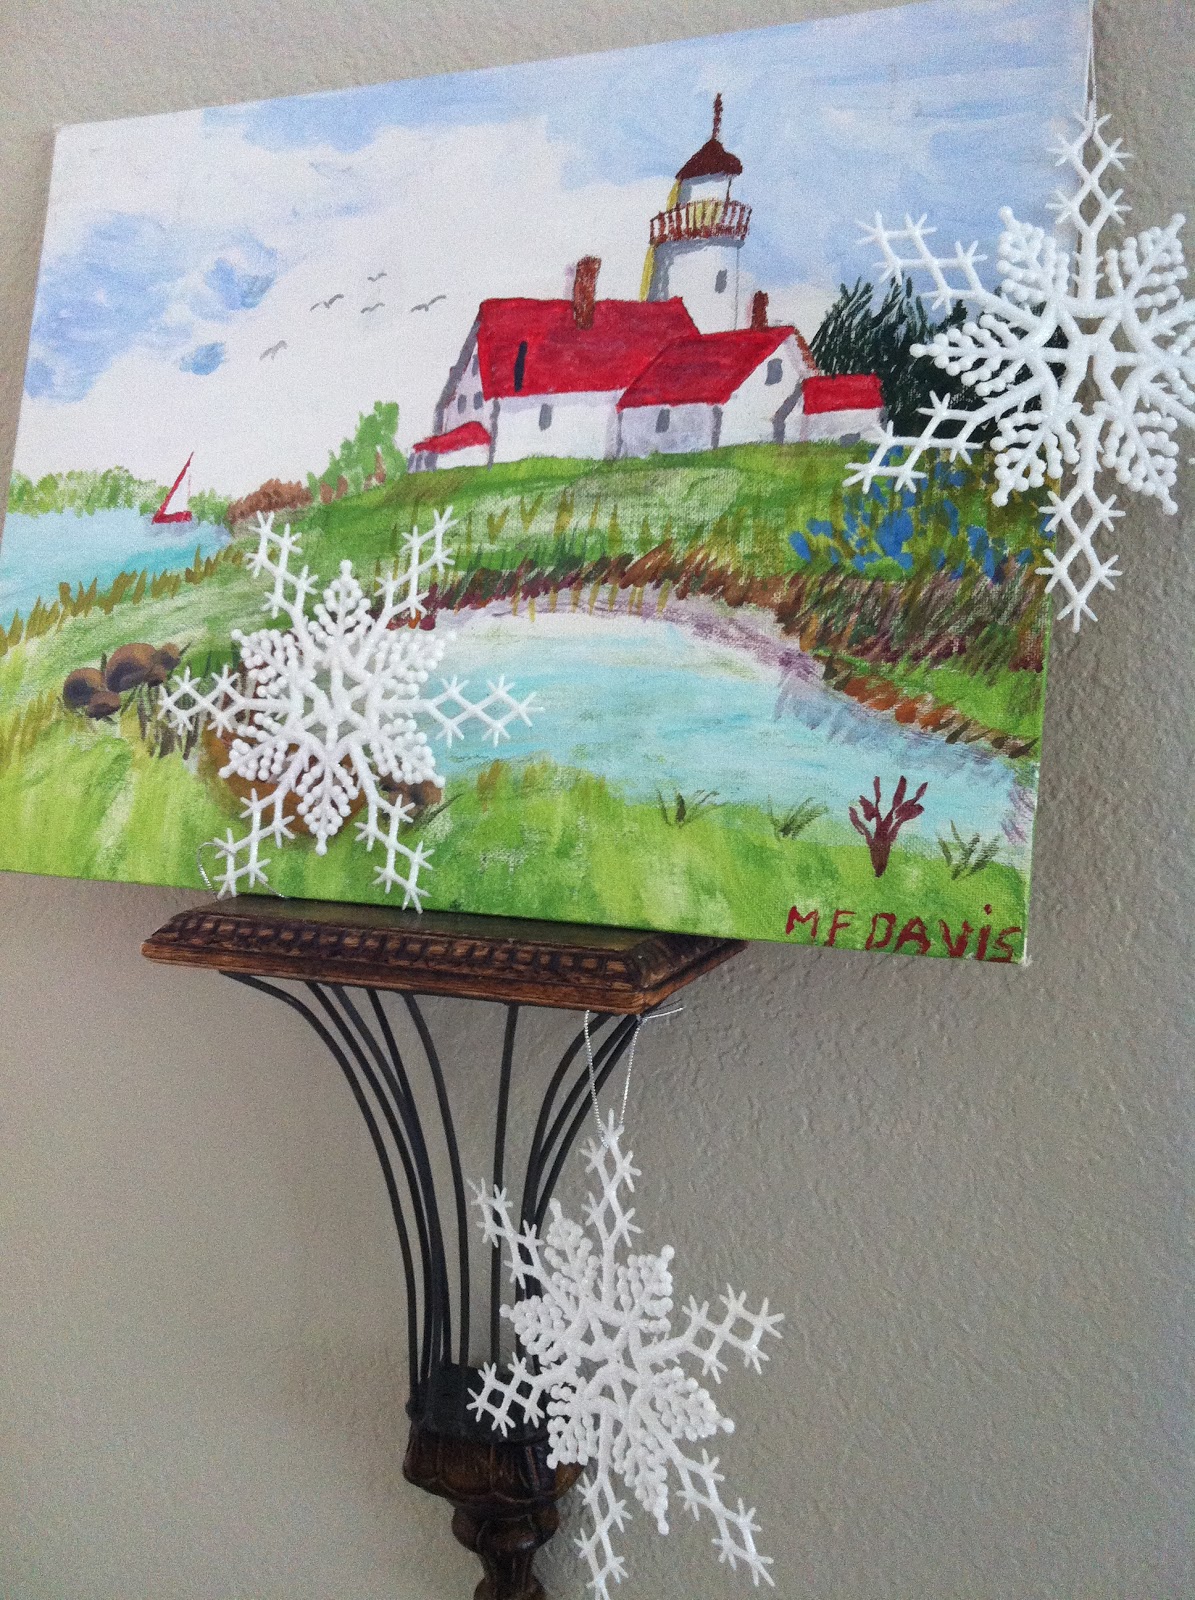
My sweet Grandma, who has since passed away, painted this lovely scene when she was in her eighties. She was also a quilter, raised 11 children and loved to put together jigsaw puzzles(just like me). We also share the same Birthday. I have fond memories of her and I'm glad I have something to proudly display that she created. :0) I thought the snowflakes were a nice way of making the scene look a little more festive and wintery. 


My husband made these plates when he was 4 and 5 years old. My kids love seeing them and I'm thinking about having them make some too. :0)


I decided to keep things bright but simple on the mantel. 


I convinced my hubs to let me buy a white tree this year. It's so bright and cheerful!


Happy decorating

Suzy :0)

The New Stools!

Here they are:


I Love them!

Saturday, November 19, 2011

New Kitchen Table


I bought a new farmhouse style table and two chairs for the kitchen

Both from Ikea, the table is the Stornas and the arm chairs are majby. The x-back chairs I already owned. 
I love it! 
Notice the paint samples on the walls? I wasn't happy with the grey looking so blue and cold. I wanted it warmer and more greige. LOL Gray + Beige = Greige.
I settled on Hazy Skies, (which has a green tint to it too) a Benjamin Moore color. But, I saved myself some money by having it mixed with Behr paint.
Here's the simple table-scape I came up with for Thanksgiving.

See that sample of fabric? I'm thinking of making curtains for the window. I think it coordinates nicely with the colors of the kitchen and with the existing fabric I used on the other windows and stools. Speaking of stools, I bought 4 of these to replace the old ones. I love how they look in Edie's amazing kitchen


They will arrive in about a week, probably right after Thanksgiving. Can't wait to see how they look! 

Suzy :0)


Thursday, November 3, 2011

Ikea Ottava Hack


Hi there! I hope you had a great Halloween. I love it, but I'm glad to have the house look "normal" again and not like an abandoned haunted house of horrors! 

I've been busy on the kitchen again. This time I changed out the can light over my sink and installed the Ikea Ottava. It looks great with the modern cottage feel. Once again, I turned to a few of my favorite bloggers for guidance, The Lettered CottageIsabella and Max Rooms and The House Of Smiths

Since I had a can light above the sink, I used the Hampton Bay Recessed Light Adapter just like Janell and Shelley. It was somewhat hard trying to figure out how to attach the screws with the spring clip things to the inside of the can. After that, it was a snap. I didn't have to cut the cord to shorten it like Layla and Shelley did. I simply tucked it into the ceiling cap along with the capped wires. I used a 10 inch ceiling medallion to hide the adapter and give it a finished look.


It looked great. But, there was a problem. When the light was on, the bulb was too bright. I kept seeing spots every time I went into the kitchen. LOL So, I remembered reading what Layla did to soften the light. She sprayed the glass cover with a frosting effect. Brilliant! It was so easy and effective. Just a couple of coats and it dried fast too.


Ahh, much better! I was also playing around with the idea of spray painting it a dark bronze color for a little more contrast. What do you think? 

Wednesday, October 26, 2011

Surprise!! I finished the Beadboard Backsplash!


It's amazing what writing a quick post can do to get you motivated to finish projects! I was sure I wouldn't get around to finishing the back splash until Spring, but I did it! ALL. BY. MYSELF!!! With the exception of my Dad helping with a minor electrical problem. (When I cut the power off to the outlets, the one that the coffee maker uses, went dead. My dad did the investigative work on that one and helped me replace the outlet all together. Thanks Dad!)


I can't thank The Lettered CottageThe Empty Nest, and The Handmade Home enough for all the inspiration and how to's!


I made all of my cuts with a jigsaw borrowed from my Dad. (Thanks again Dad!) Just like Ashley at The Handmade Home, I hot glued the bead board onto my existing tile back splash and the corbels too!


Here's a look at the before: 


And After!!: