Showing posts with label diy. Show all posts

Monday, December 5, 2011

Holiday Decorating

I'm almost done decorating for the Holidays, one craft project at a time. I've been busy since the day after Thanksgiving. LOL Just as soon as I finish a crafty project, I quickly load up my plate with more. It never seems to be enough!
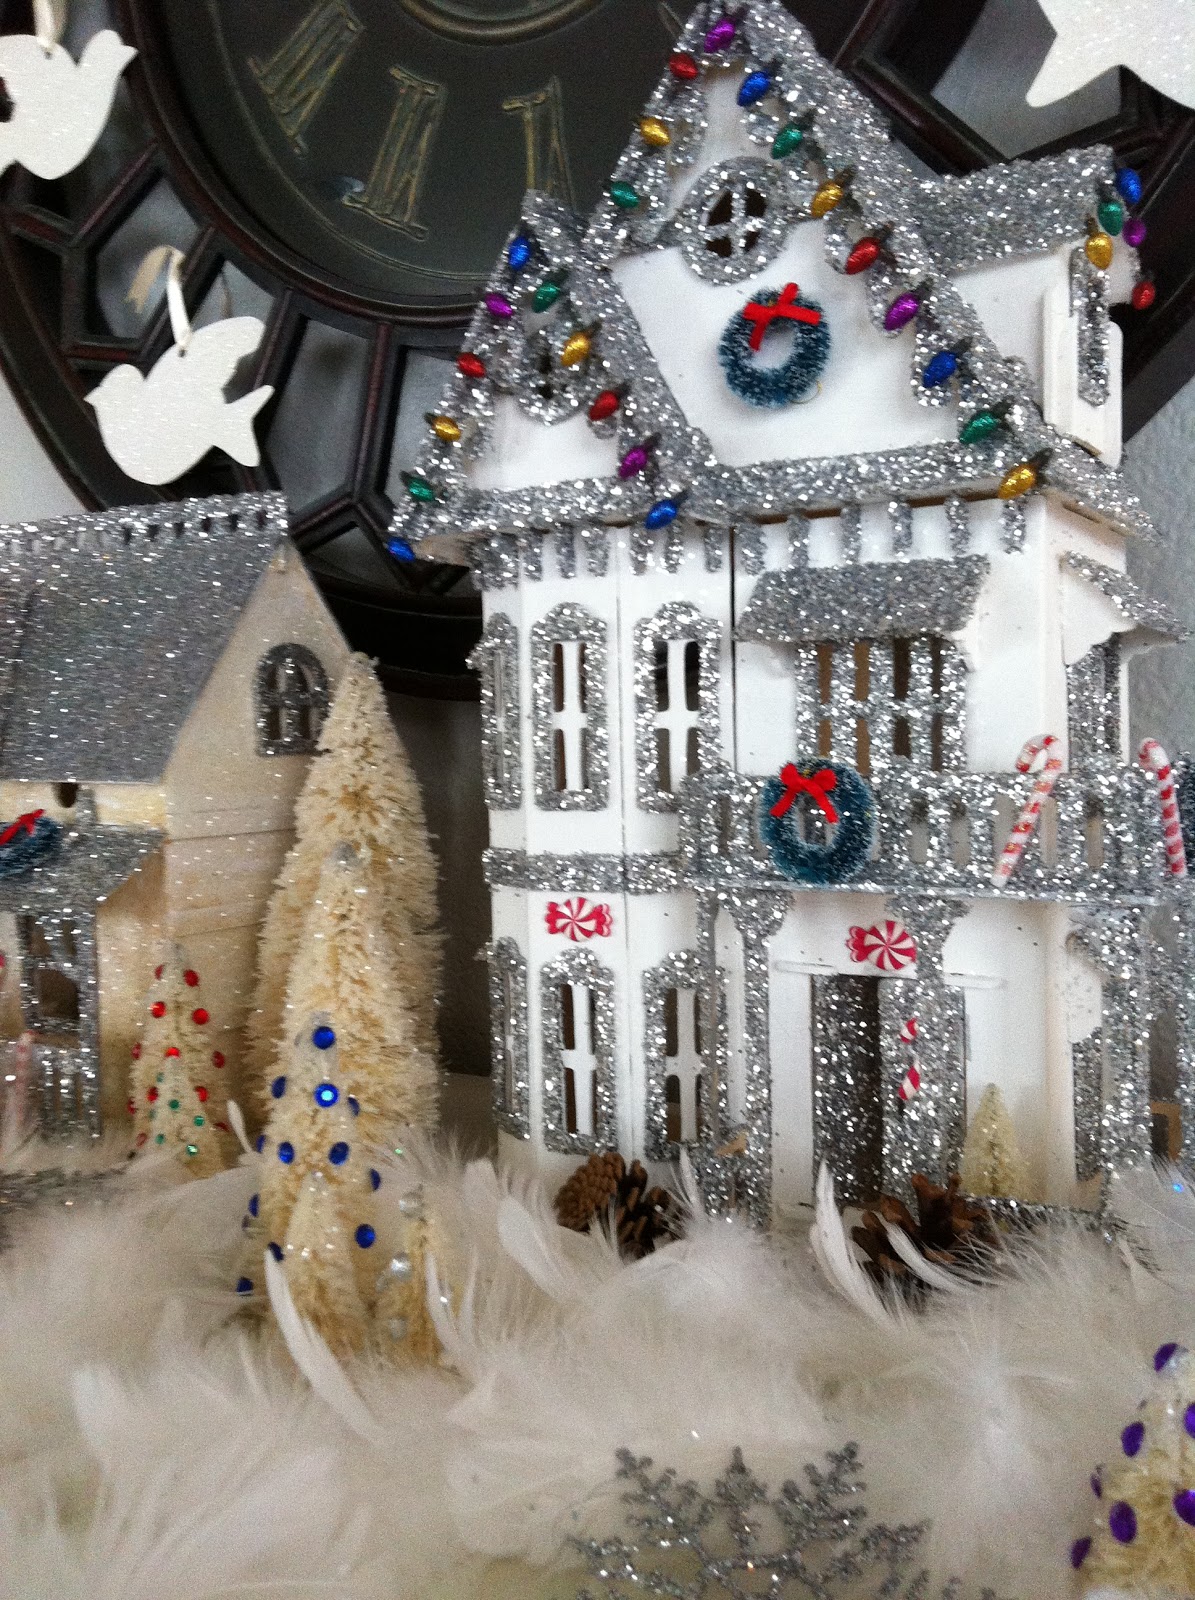
I found some great tutorials on how to make your own glitter houses and white bottle brush trees here and here. I love miniature things. I don't know why, but they are just so enchanting to me.


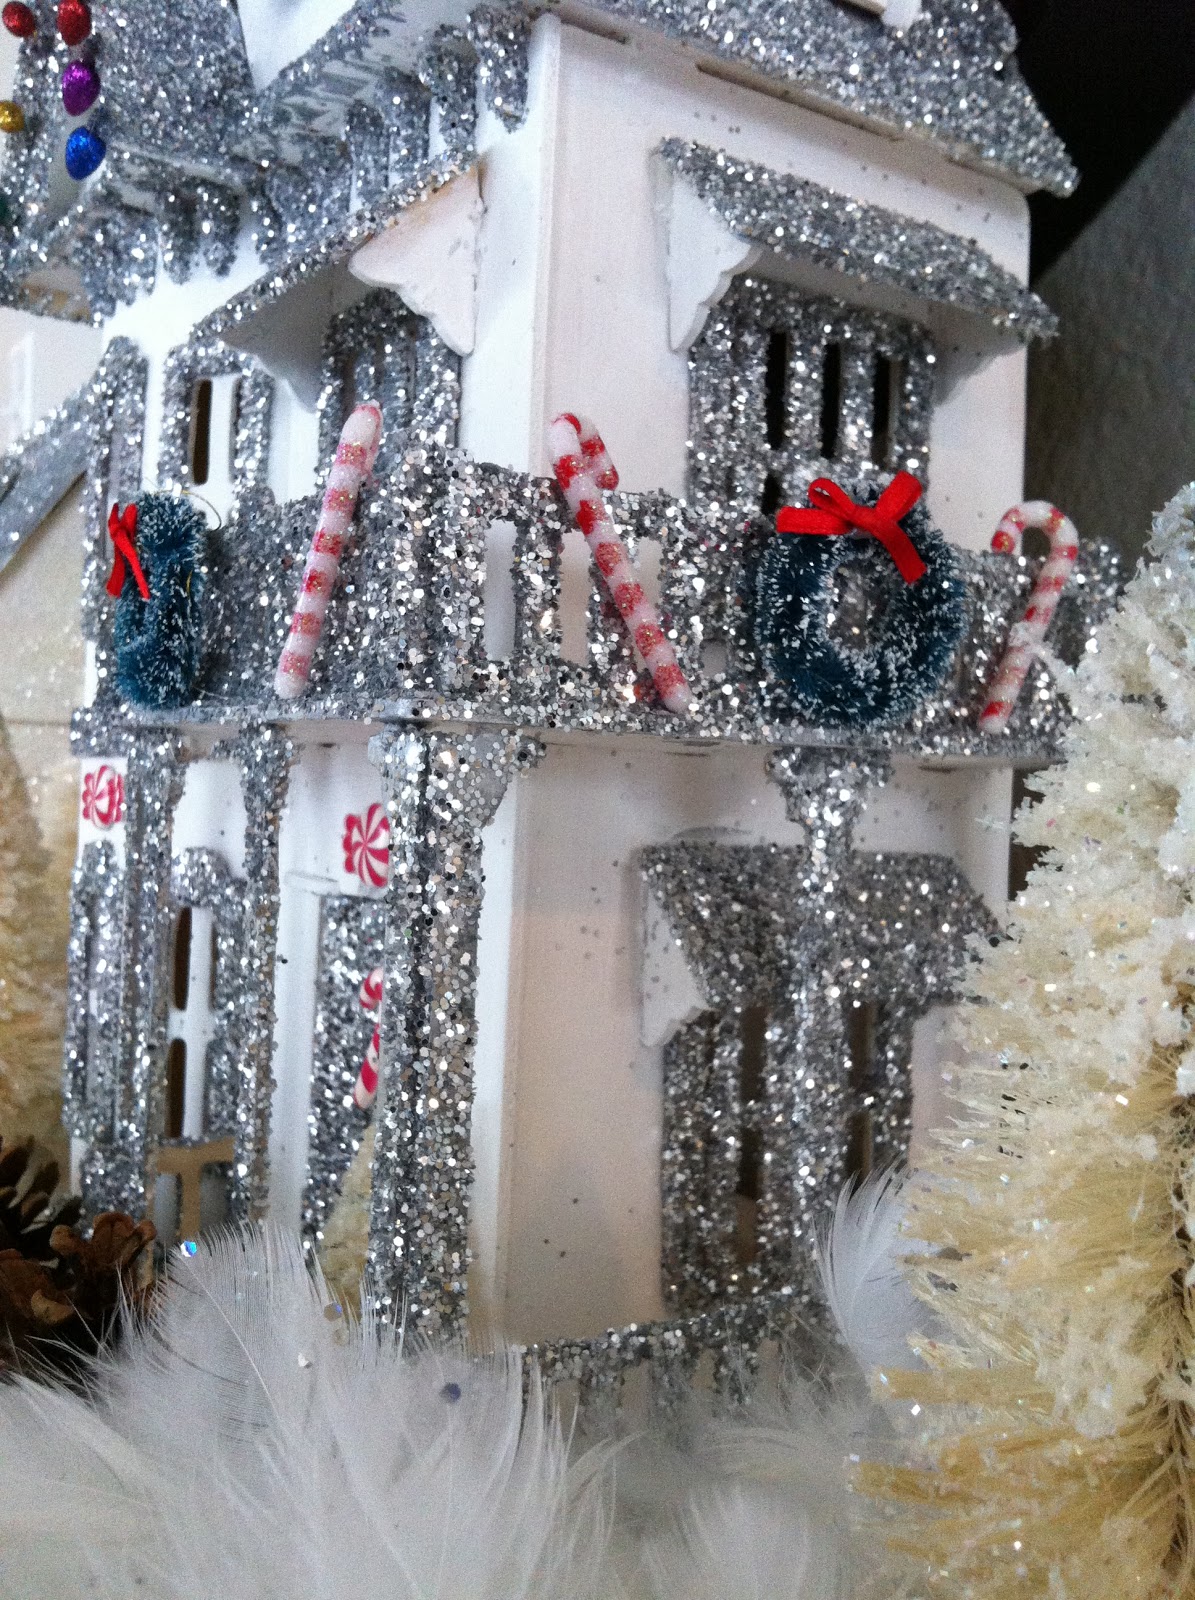
Everything in my little village was bought at Michael's Crafts. The dollhouses are kits you assemble. I painted  one of them ivory white and  the other, soft white. Then, I brushed on Elmer's glue and sprinkled them with silver glitter. I couldn't resist adding little details, like the "lights", tiny wreaths, candy canes, and gems decorating the trees. I reused the peace sign and dove ornaments from last year. Which I blogged about how to make here.


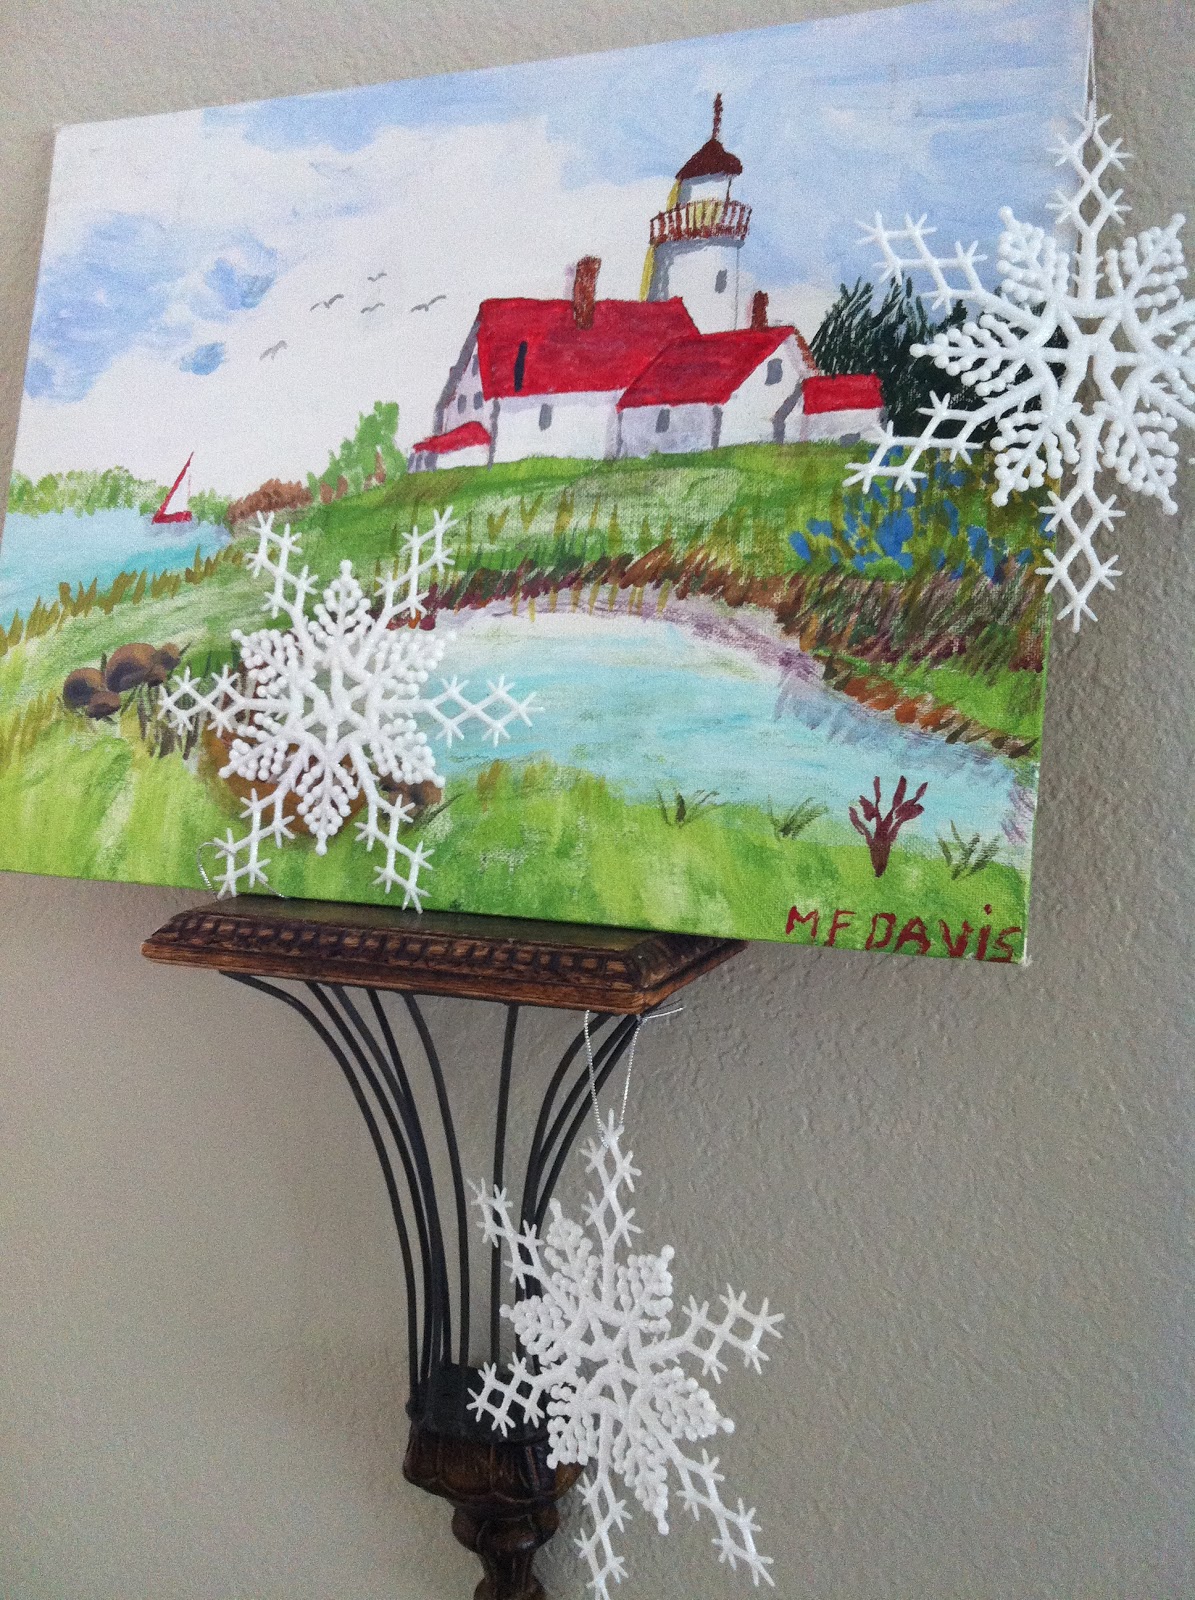
My sweet Grandma, who has since passed away, painted this lovely scene when she was in her eighties. She was also a quilter, raised 11 children and loved to put together jigsaw puzzles(just like me). We also share the same Birthday. I have fond memories of her and I'm glad I have something to proudly display that she created. :0) I thought the snowflakes were a nice way of making the scene look a little more festive and wintery. 


My husband made these plates when he was 4 and 5 years old. My kids love seeing them and I'm thinking about having them make some too. :0)


I decided to keep things bright but simple on the mantel. 


I convinced my hubs to let me buy a white tree this year. It's so bright and cheerful!


Happy decorating! 

Suzy :0)

Tuesday, October 18, 2011

Some Halloween Decorating

Long time, no post! I don't really have an excuse either. I guess, I just haven't been very motivated lately to write and upload photos. Still haven't completed the kitchen...:0/ Hopefully I'll get around to it in the next few months. 


But, I have been decorating for Halloween! Every year, my Mom and I host a Halloween party at my house. I think it's our favorite holiday besides Christmas. Shocker, huh? I think that's probably true for most people. LOL 


With some spooky special effects via Instagram, here's what I've done so far:


I made these candles look bloody by simply dripping red wax down them. 


The white treat bag was made using Martha Stewart's skull potato stamp tutorial. 


Tuesday, April 19, 2011

Master Bedroom....again.

Hey there! I added a tv armoire to my bedroom plus accessories:


I painted the armoire a beigey white, which was originally a dark stain wood look, and painted the tv tray turned-accent-table a creamy white. 


These boxes also got a fresh new look. They had wine bottles and wine glasses on them and I painted them white and used a homemade stencil in a chevron pattern. I think it really brings out the brass details. By the way, I'm loving this pattern right now (along with most of blog land)! Every time I see this pattern being used, whether it's on a pillow or a rug, I WANT it. LOL

Here's how everything looks on this side of the bedroom now:


It's coming along, one project at a time, and very little money spent. Next I'll be adding a sitting chair and accessories by the window. 

Suzy :0)


Thursday, March 24, 2011

Ikea Malm dresser hack

Long time, no post! I finally ordered the pull rings I found at www.bellacor.com. I'm very proud of myself. I have NEVER used a power drill before and it was pretty intimidating. I was sure that I would, somehow, mess it up. After careful measuring TWICE, I marked a dot where the holes would be and drilled right in. It was so effortless! This may seem lame to experienced handy people, but when you don't know how a tool is going to feel or react when you push the button, it's kind of intimidating.


I changed out the knobs on the hemnes dresser to compliment the pull rings on the nightstands. Thanks again to Emily A. Clark for this great Ikea hack! 

Speaking of Ikea hacks, I found some other great examples of what can be done to Ikea furniture. 

Here's a great one from Jason @ retrograde: 


Look at how Morgan @ ikeahackers.net transformed this Edland dresser. 


Wow, this is gorgeous! Nancy @ MarcusDesign did a fabulous job of making these Rast dresssers look like Dorothy Draper Chests. I could see this working with the Malm too. 


I really want to try my hand at all of these. Just one of many, many things I have planned. *Sigh*

:0) Suzy


Wednesday, February 16, 2011

DIY Sunburst Mirror From The Nester

I found the most awesome DIY Sunburst Mirror tutorial from The Nester! Hers is, of course, perfect in every way (and taken with a better camera than mine! Hopefully soon I will have a nicer one. I've been using my iphone4 for all of my photos). Can you believe this was made with poster board glued onto a small mirror?! Genius! Here's my version:


Also, ignore the faux finish walls. I plan to paint those too. Along with almost every room in my house! *Sigh*

Wednesday, November 10, 2010

Some of My Artwork and Crafts

Today, I thought I would share some art and crafts that I have made.
I really love paper art, so I decided to try paper quilling. It's a technique using strips of paper that are rolled up using a special tool and folding them into shapes, usually flowers.


(Side Note: See how the soft grey background in this shadow box really makes the colors in the paper quilling art pop? I'm thinking this might be a nice paint color for my daughter's bedroom.)


I made this for my son's bedroom. I bought a piece of canvas, painted it black, folded red card stock paper into paper planes, used a paint pen to draw the plane trails and hot glued the planes in place. Super easy!


Gotta love those infamous candy lips! I whipped up this for my daughter's room by searching online and finding as many "candy lips" as I could and printing them off. Then, I glued them onto a piece of canvas. Instant "Pop Art". I also did some other collages from thumbnail images found online for my daughter's room.


I was so inspired by some pretty wreaths I found on etsy, that I decided to make a similar one for myself. I wrapped tissue paper around a foam wreath. I used miniature pin wheels, scrapbook flower stickers, and traced and cut the bird, butterflies and bicycle. Check out this amazing wreath maker's blog here!